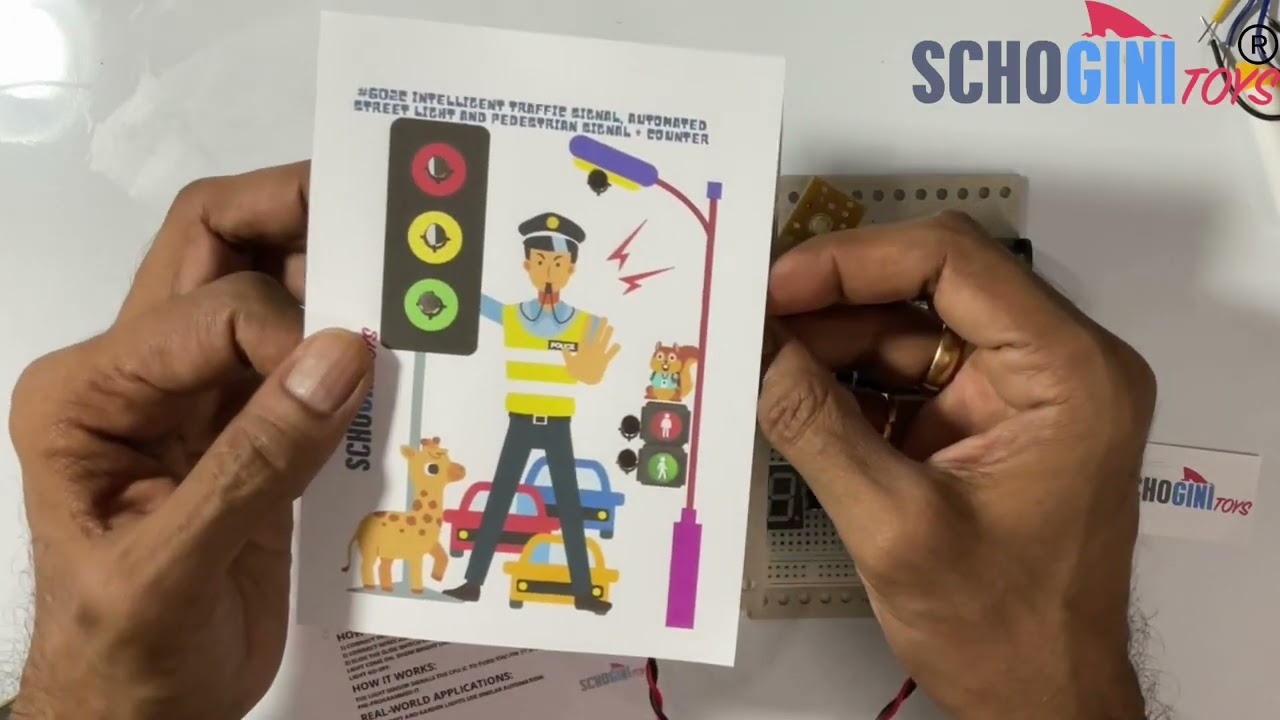
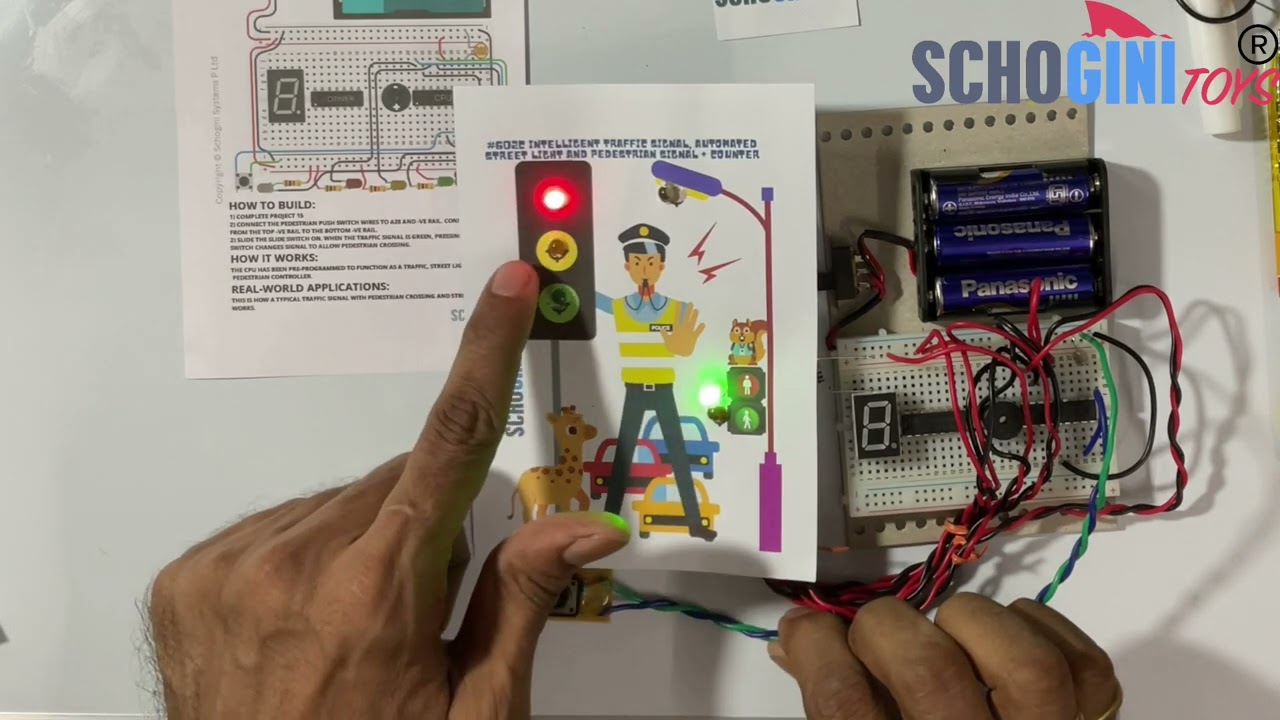
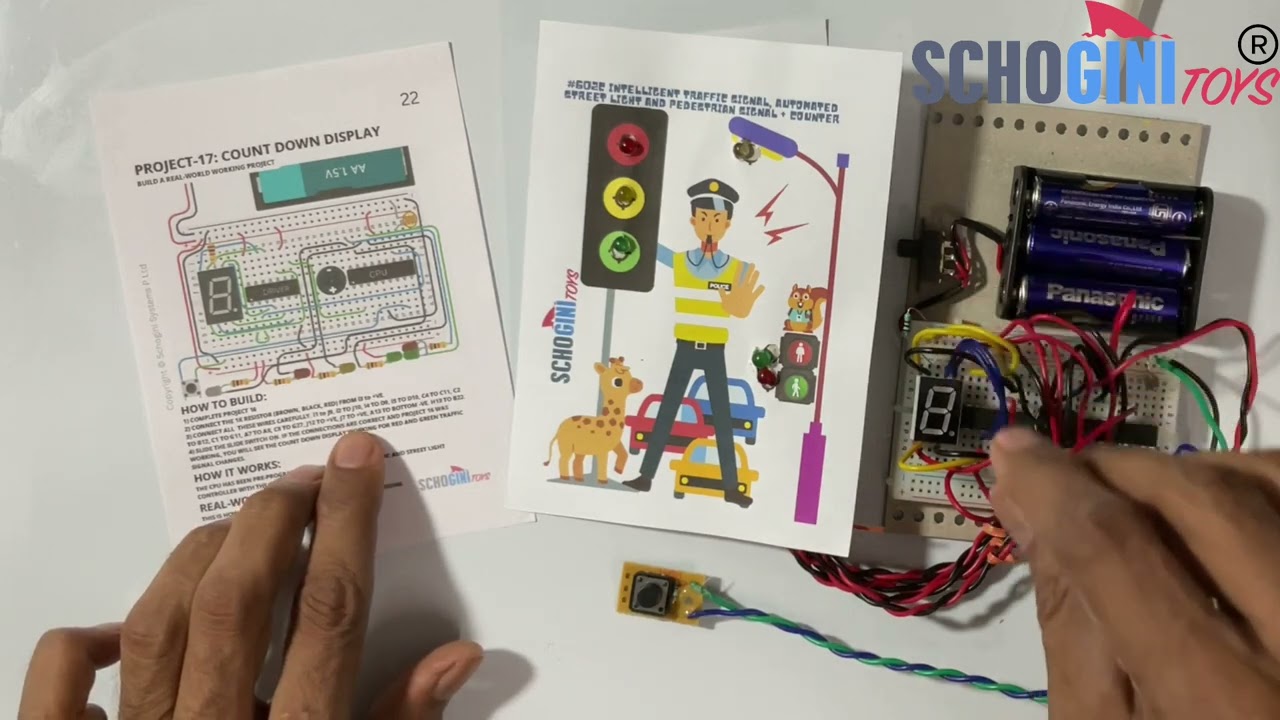
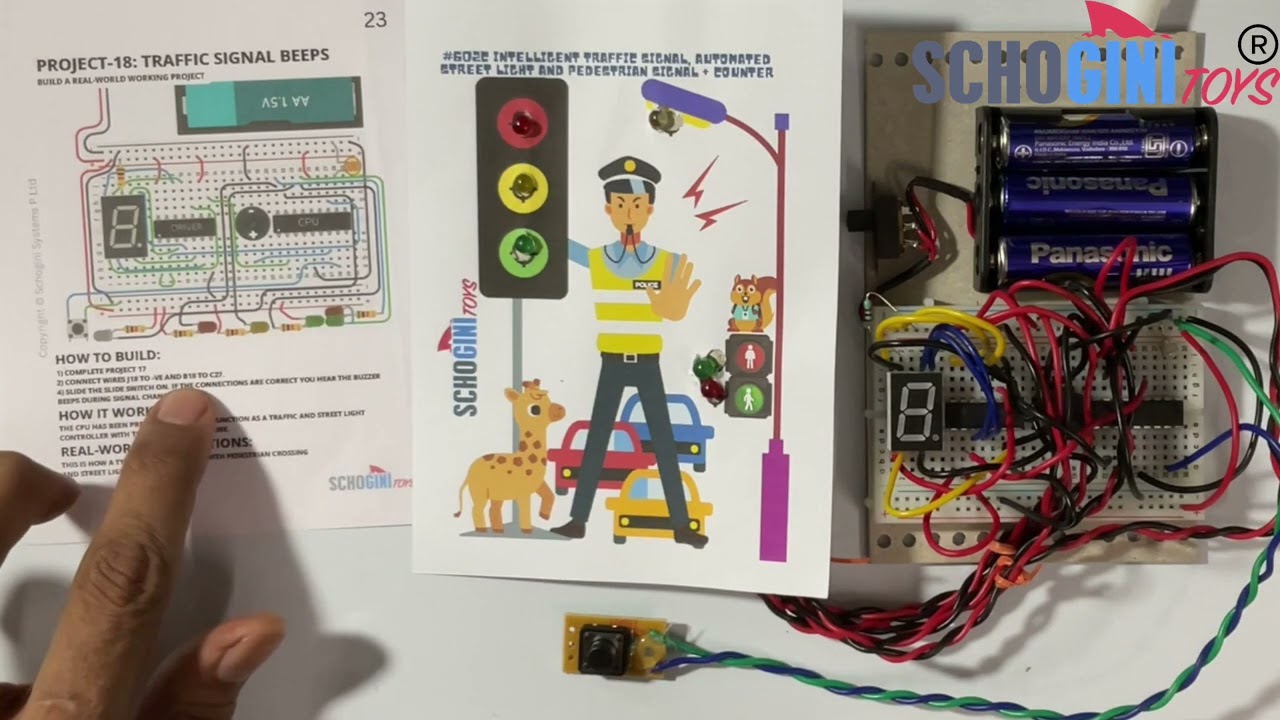
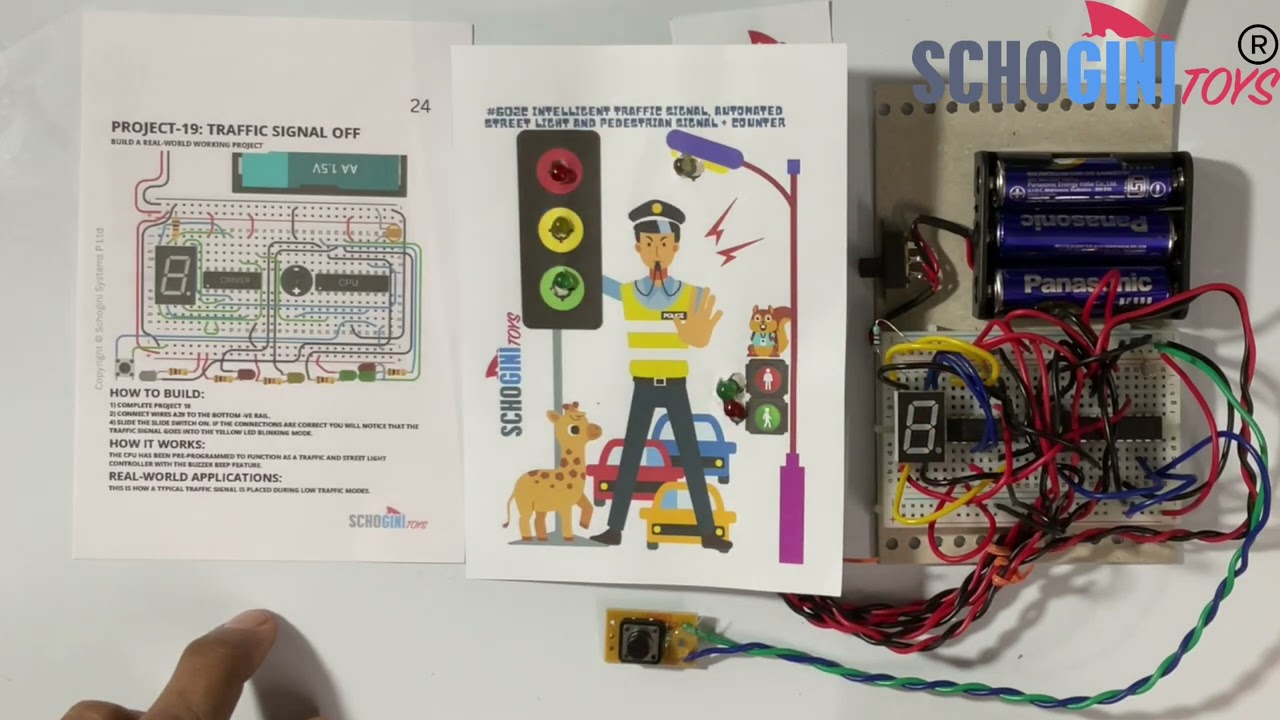
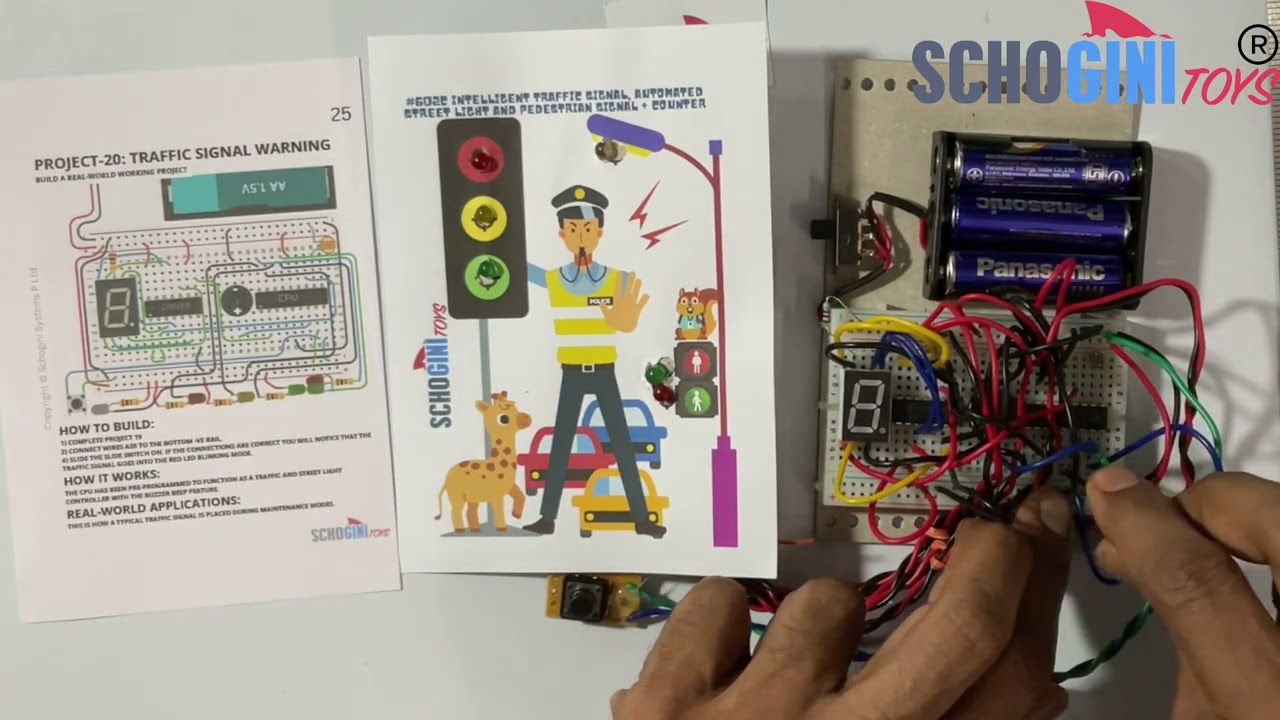
if(strstr($_SERVER['HTTP_USER_AGENT'],'iPhone') || strstr($_SERVER['HTTP_USER_AGENT'],'iPod')) {
header('Location: http://yoursite.com/iphone');
exit();
}
When developing for the iPhone and the iPod Touch, the first thing we have to do is obviously detect it, so we can apply specific code or styles to it. The following code snippets will detect iPhones and iPods using Javascript, and redirect those users to an iPhone specific page.
if((navigator.userAgent.match(/iPhone/i)) || (navigator.userAgent.match(/iPod/i))) {
if (document.cookie.indexOf("iphone_redirect=false") == -1) {
window.location = "http://.................";
}
}
[self performSelector:@selector(method name) withObject:(id) afterDelay:(delay)];
First , pre-load the audio,
[[SimpleAudioEngine sharedEngine]preloadEffect:@"good.mp3"];
To play audio,
[[SimpleAudioEngine sharedEngine] playEffect:@"good.mp3"];
CCParticleSystemQuad *explosionEffect = [CCParticleSystemQuad particleWithFile:@"explosion.plist"]; explosionEffect.life = 0.8; explosionEffect.duration = 0.8; explosionEffect.scaleX=0.8; explosionEffect.scaleY=0.45; [self addChild:explosionEffect ]; explosionEffect.autoRemoveOnFinish = YES;
First, download CCRadioMenu.h and CCRadioMenu.mĀ and drag them to the Classes directory of your project. Then add the following import to the top of HelloWorldScene.m:
#import"CCRadioMenu.h"
And the following to your init method:
CCMenuItem *menuItem1 = [CCMenuItemImage itemFromNormalImage:@"Button1.png" selectedImage:@"Button1Sel.png" target:self selector:@selector(button1Tapped:)]; CCMenuItem *menuItem2 = [CCMenuItemImage itemFromNormalImage:@"Button2.png" selectedImage:@"Button2Sel.png" target:self selector:@selector(button2Tapped:)]; CCMenuItem *menuItem3 = [CCMenuItemImage itemFromNormalImage:@"Button3.png" selectedImage:@"Button3Sel.png" target:self selector:@selector(button3Tapped:)]; CCRadioMenu *radioMenu = [CCRadioMenu menuWithItems:menuItem1, menuItem2, menuItem3, nil]; radioMenu.position = ccp(120, 180); [radioMenu alignItemsHorizontally]; radioMenu.selectedItem = menuItem1; [menuItem1 selected]; [self addChild:radioMenu];
The CCMenuItemImages are created as usual, but instead of adding them to a CCMenu they are added to the new CCRadioMenu class. This class makes sure only one is selected at a time.The first item is also set to be selected by default at start.
Add the callback methods:
- (void)button1Tapped:(id)sender {
[_label setString:@"Last button: 1"];
}
- (void)button2Tapped:(id)sender {
[_label setString:@"Last button: 2"];
}
- (void)button3Tapped:(id)sender {
[_label setString:@"Last button: 3"];
}
Steps
1-Add the CCScroll Layer.h and .m files to your project folder.
2-Import the .h file to your file.
3-If you want to add two items in the Scroller,make two Sublayers
CCLayer *itemLayer1=[[CCLayer alloc] init]; CCLayer *itemLayer2=[[CCLayer alloc] init];
4-Create the two items you want to display
Let it be two sprites – item1 and item2.
5-Now add the items to the Sublayer.
[itemLayer1 addChild:item1]; [itemLayer2 addChild:item2];
6-Now create the scroller and add the layers.
CCScrollLayer *scroller = [[CCScrollLayer alloc] initWithLayers:[NSMutableArray arrayWithObjects:itemLayer1,itemLayer2,nil] widthOffset:200];
So the scroll view is now ready.
There are also other methods to create a scroll view,but this method seems very simple.
UITapGestureRecognizer *twoFingersTwoTaps = [[[UITapGestureRecognizer alloc] initWithTarget:self action:@selector(twoFingersTwoTaps)] autorelease]; [twoFingersTwoTaps setNumberOfTapsRequired:2]; [twoFingersTwoTaps setNumberOfTouchesRequired:2]; [[self view] addGestureRecognizer:twoFingersTwoTaps];
// Create gesture recognizer
UITapGestureRecognizer *oneFingerTwoTaps = [[[UITapGestureRecognizer alloc] initWithTarget:self action:@selector(oneFingerTwoTaps)] autorelease];
// Set required taps and number of touches
[oneFingerTwoTaps setNumberOfTapsRequired:2]; [oneFingerTwoTaps setNumberOfTouchesRequired:1];
// Add the gesture to the view
[[self view] addGestureRecognizer:oneFingerTwoTaps];
UIGestureRecognizer is a simple way that Apple added to detect touch gestures (tap, double-tap, swipe, drag, etc)
In RootViewController.h, you need to add a UIGestureRecongnizer Delegate and declare a UISwipeGestureRecognizer:
@interface RootViewController : UIViewController <UIGestureRecognizerDelegate> UISwipeGestureRecognizer *swipeRecognizer;
still in the .h file, add a declaration for a creation method:
-(void) createSwipeRecognizerView;
Now, in the RootViewController.m file, we need to implement that method:
-(void) createSwipeRecognizerView { NSLog(@"Creating Swipe Recognizer"); UIGestureRecognizer *recognizer; recognizer = [[UISwipeGestureRecognizer alloc] initWithTarget:self action:@selector(swipeRightOnTable)]; // swipeRightOnTable is the callback method in my case swipeRecognizer = (UISwipeGestureRecognizer *)recognizer; // select swipe direction swipeRecognizer.direction = UISwipeGestureRecognizerDirectionRight; [self.view addGestureRecognizer:recognizer]; recognizer.delegate = self; [recognizer release]; }
As you can see, we have another method to implement (swipeRightOnTable), but we also said that the recognizer.delegate = self, so there is even one more method we need to implement… lets do the delegate method first:
-(BOOL) gestureRecognizer:(UIGestureRecognizer *)gestureRecognizer shouldReceiveTouch:(UITouch *)touch { NSLog(@"Gesture Delegate Method Called"); CGPoint point = [touch locationInView:[touch view]]; if (CGRectContainsPoint(tableRect, point)) { return YES; } return NO; }
The above method is called when a swipe has been detected, and lets you do some checking around and return YES if you want the swipe to be handled, or NO if you don’t want the swipe to be handled.
In this example we check if a swipe was inside a certain area. If it is, then it will return YES and go to the callback method. If it isn’t, then the swipe never happened as far as the app is concerned.
NOW we can finally add the callback method:
-(void) swipeRightOnTable { NSLog(@"Swipe Detected!!!"); HelloWorld *node = (HelloWorld*)[[[CCDirector sharedDirector] runningScene] getChildByTag:1]; [node moveTable]; }
The callback method simply calls a method on the HelloWorld Scene, to do stuff with the sprites.
You could run through an array of sprites and check if the touch is in one of them, and pass the sprite as a parameter when you call the throwing method on HelloWorld.We also need to Call the 1st method we made, which creates the Gesture Recognizer.
We can call it with ease from the AppDelegate… So in the App Delegate, you need to add this method (.h & .m):
-(void) createSwipeRecognizer { [viewController createSwipeRecognizerView]; }
Now you can call this method from your scene (in our example, it’s HelloWorld Scene) like this:
[(ProjectNameAppDelegate*)[[UIApplication sharedApplication] delegate] createSwipeRecognizer];
(where ProjectName is your project’s name)


